Install Diode Drive on Linux
 Updated
Follow the three steps below to get up and running on Linux (Raspberry Pi/ARM shown below).
Download
Download Diode Drive for Linux - pay attention to the Linux variant (x86, ARM, 32/64 bit) to ensure you download the right one for your system.
Install and run Diode Drive
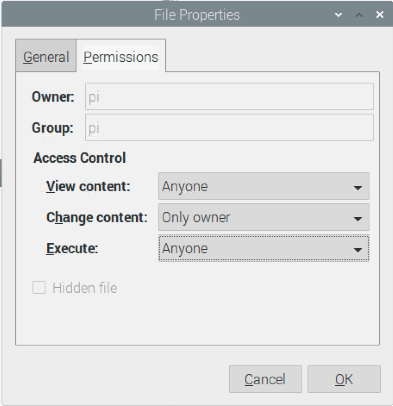
Set the File Permissions for the downloaded .run file to include "Execute".
Open a terminal window and run the installer - it will extract to ~/dDrive

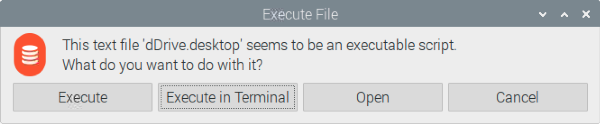
You can then either run it from a terminal window from the ~/dDrive folder with: ./dDrive start_iex , or click the "Diode Drive Decentralized Storage" icon from the UI and select "Execute".
If your installation is not automatically synchronizing file changes, install the "inotify-tools" package via the command line:
sudo apt install inotify-tools
If the user interface doesn't load, try installing the topicons extension from https://extensions.gnome.org/extension/495/topicons/
sudo apt install libglu1-mesaVerify Diode Drive is running
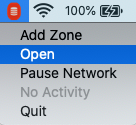
When Diode Drive starts up, it will load as a small orange icon in the task bar:

Clicking the orange Diode Drive icon will drop-down / pop-up menu options. Click "Open" to open the app.
That's it! Diode Drive is installed and active on your system.
NEXT STEP: Create an Account
Getting-started articles: