Create a Zone
 Updated
This article describes how to add a new Zone to your Diode Drive.
A Zone is a collection of Team Members and files/folders. Team members can collaborate real-time on the files in the Zone and can interact with each other via chat.
These instructions assume that you've already installed Diode Drive. Follow the steps below to create a Zone.
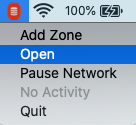
- Open Diode Drive
To add a Zone, go ahead and first open Diode Drive. You can do that by clicking the task bar icon and clicking "Open".
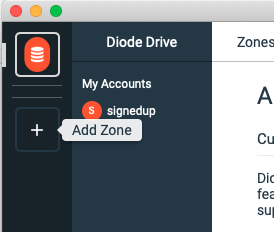
- Click "+" to Add Zone
The far left bar is your "Zone Selector Bar." It is always visible for desktop, and can be displayed at any time on mobile by clicking the upper left hamburger icon. At the bottom of the Zone Selector Bar, there is a "+" - clicking that will open the Add Zone dialog.
- Name your Zone
Enter a name for your Zone in the Create New Zone dialog and click "Create".

- Explore!
That's it! Diode Drive will now show your new Zone in the Zone Selector Bar.
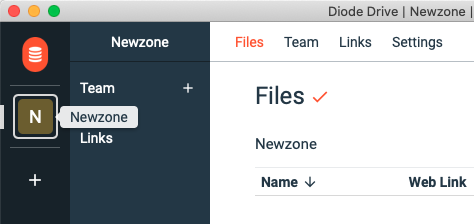
You can go to the Settings tab to customize the Zone, or just start adding files and Team Members to collaborate!
Getting-started articles: