Share a File or Folder via Web Browser
 Updated
One of the key use-cases for Diode Drive is to share a file or folder without uploading the information to the cloud.
This is simple to do, and does not require others to install Diode Drive - they download the information via a web browser directly from your computer or one of the other Team Members in your Zone.
If you have not already setup Diode Drive, follow the instructions in this article.
After you've completed those steps, you will have Diode Drive installed on your computer with your first Zone.
- Add files to your Zone
In order to share files or folders from a Zone, you have to have them inside the Zone's folder.
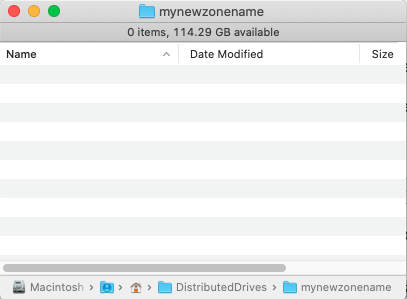
By default, the Zone folder uses the same name as the Zone ("mynewzonename") and is located under "DistributedDrives" in the user's home directory:

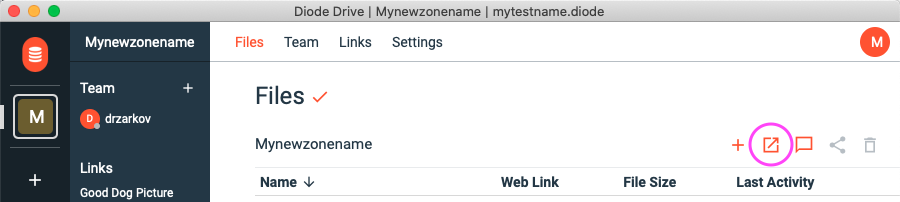
To see the files, open the Diode Drive application, go to your Zone, and then click the "Open" icon:
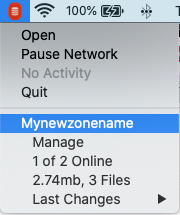
Or, alternatively, you can open the folder by clicking the Zone name in the Diode Drive menu drop-down
Once the folder is open, it will be empty:
In this example, we will copy an image into the folder that we will share - you can put anything into the folder you like, including additional sub-folders and files:

For steps 3-5, you can either watch this video, or follow the steps below:
Here are the final three steps you need to take (as shown in the video):
- Setup the Share
Back in the Diode Drive application, you'll now see that the "good-dog.jpg" file is listed on the Files page. First, click on the check box area to select the file and then click the "Share" icon to create a Share.
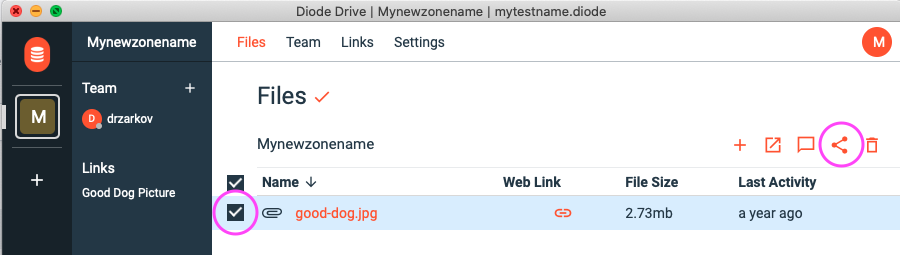
Click the "Web Link" icon that appears to view the web link details.
Note that you can create a Share at a file or folder level - if you share a folder, all files and sub-folders will be accessible via the Share.
- Configure the web link (optional)
You can test and configure the web link on the web link's settings page:
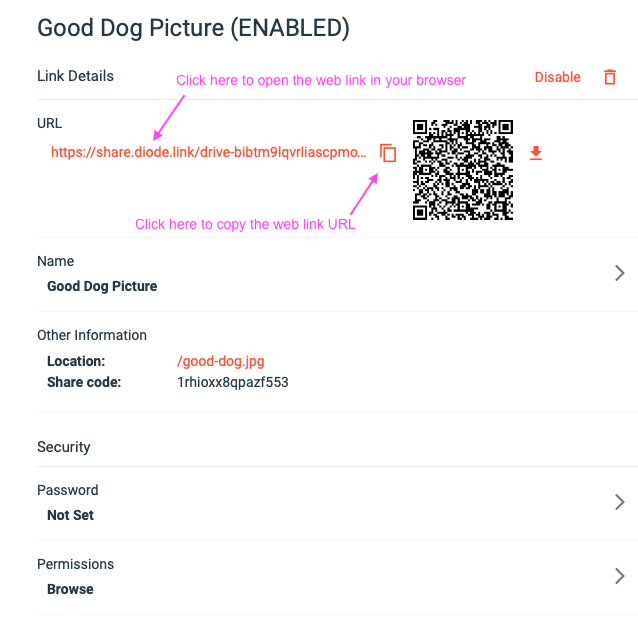
To set a password, click the "Password" setting. To enable/disable uploads, replacement, and/or downloads, click the "Permissions" setting.
Before you leave this page, click the Copy icon (shown in above image) to copy the web link's URL.
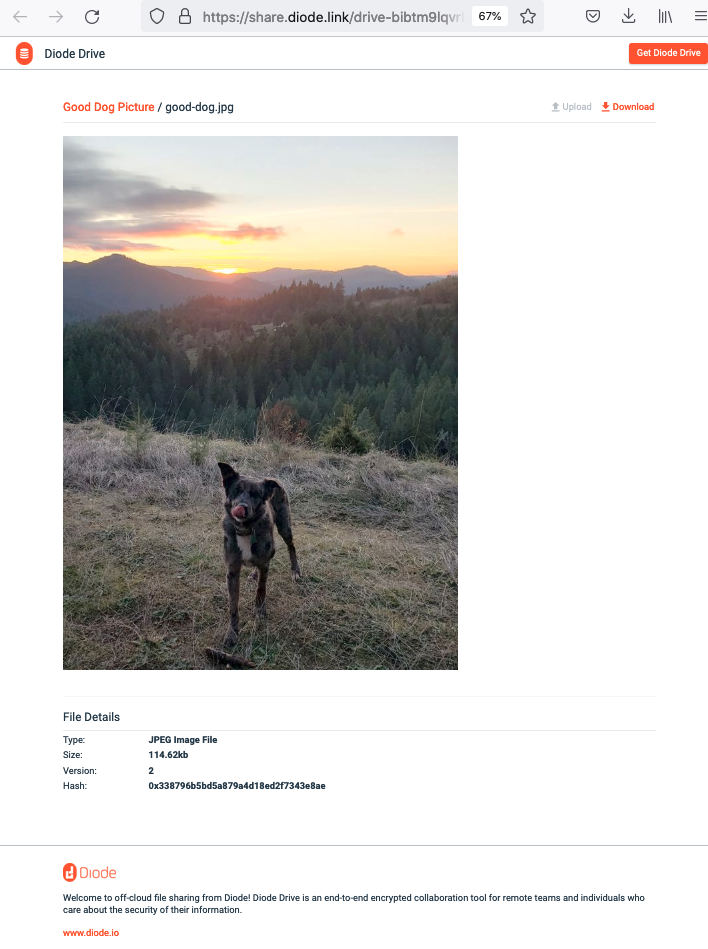
- Share the file with others!
Send the web link's URL to others to give them access to the file! For our example, this is what they'll see:
- Customize your Share Portal
You can customize the branding for your Share Portal so that all of your web links have your Zone's custom/white-labeled brand. See this article for more information.
Troubleshooting:
- "Unauthorized" is showing when I go to the share link
If you are getting an "Unauthorized" response when going to the share link, it typically means that the web link is not enabled. Check that setting and try again!
Getting-started articles: