Configure Firefox Containers to Access the Diode Network

There are many ways to access various resources published to the Diode Network. The method covered in this article uses the official Firefox Container add-on to create a specific container within Firefox that can serve Diode Network content via the local Diode Network Proxy provided by the Diode CLI or the Diode App.
Part 1: Configure Firefox
- Install the Official Firefox Multi-Account Container Add-On
- Open the Container Add-On by clicking it's icon (shown below) in the top left of Firefox

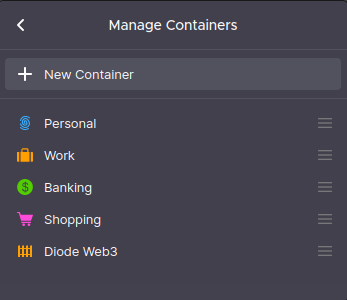
- At the bottom of the Container Add-On pop-up, click "Manage Containers"

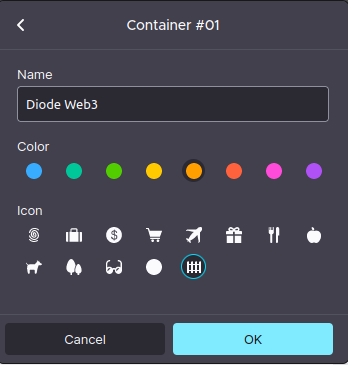
- Click "New Container" at the top, give it a Name, Color, and Icon, then click "OK".
- Click the name of the container you just created (in my case it will be "Diode Web3").

- Click "Advanced proxy settings"

- Click the "Enable" button
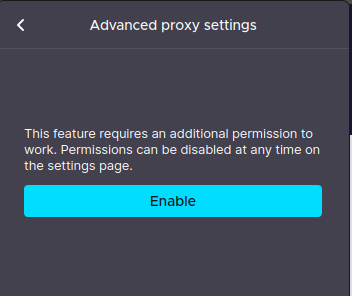
- Click "Allow"

- Insert
socks://localhost:57861into the "Advanced proxy settings" field, then click "Apply to Container"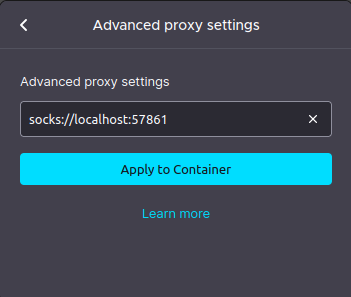
- If you've done everything correctly, you should see
socks://localhost:57861shown under the "Advanced proxy settings" section, as shown below.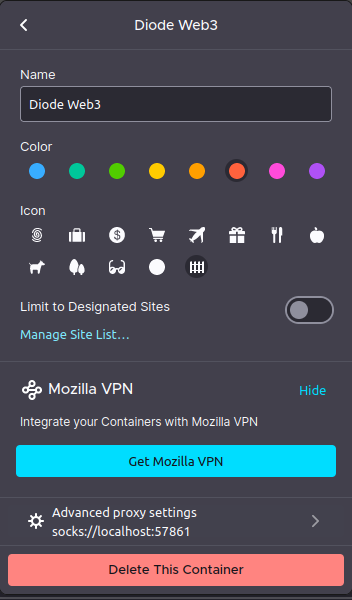
Part 2: Configure your local Diode Network Proxy
The easiest way to start your local Diode Network Proxy is to simply run the Diode App. If you don't have the Diode App yet, you can install it here. All you have to do is start the app and keep it running while you are accessing Web3 sites. Once you have installed and started the Diode App, you can proceed to Part 3 of this guide.
diode socksd -socksd_port 57861
Keep this terminal window open while accessing Web3 sites.
Part 3: Using the Connection
- Open the Container Add-On by clicking it's icon (shown below) in the top left of Firefox
- From the container menu, select the container you created in Step 4 of Part 1. In my case, this is "Diode Web3" as shown below. After clicking on the container name, a new tab will open for the container you selected.
- Inside the new container tab, navigate to a .diode site using this format:
http://site-you-want-to-reach.diode. Notice thathttpis used and NOThttps.
- If the tab loads the desired diode site, then your connection is configured properly!