Create Bookmarks

Within every Zone, there is the option to create and name bookmarks that can be linked to various locations (Diode Drive Locations, Web2 Links, Web3 Links, and Web2 Tunneled Links). This allows for quick access to files, documents, folders, etc. without clicking through folders within the Zones to find them each time.
Create a Bookmark
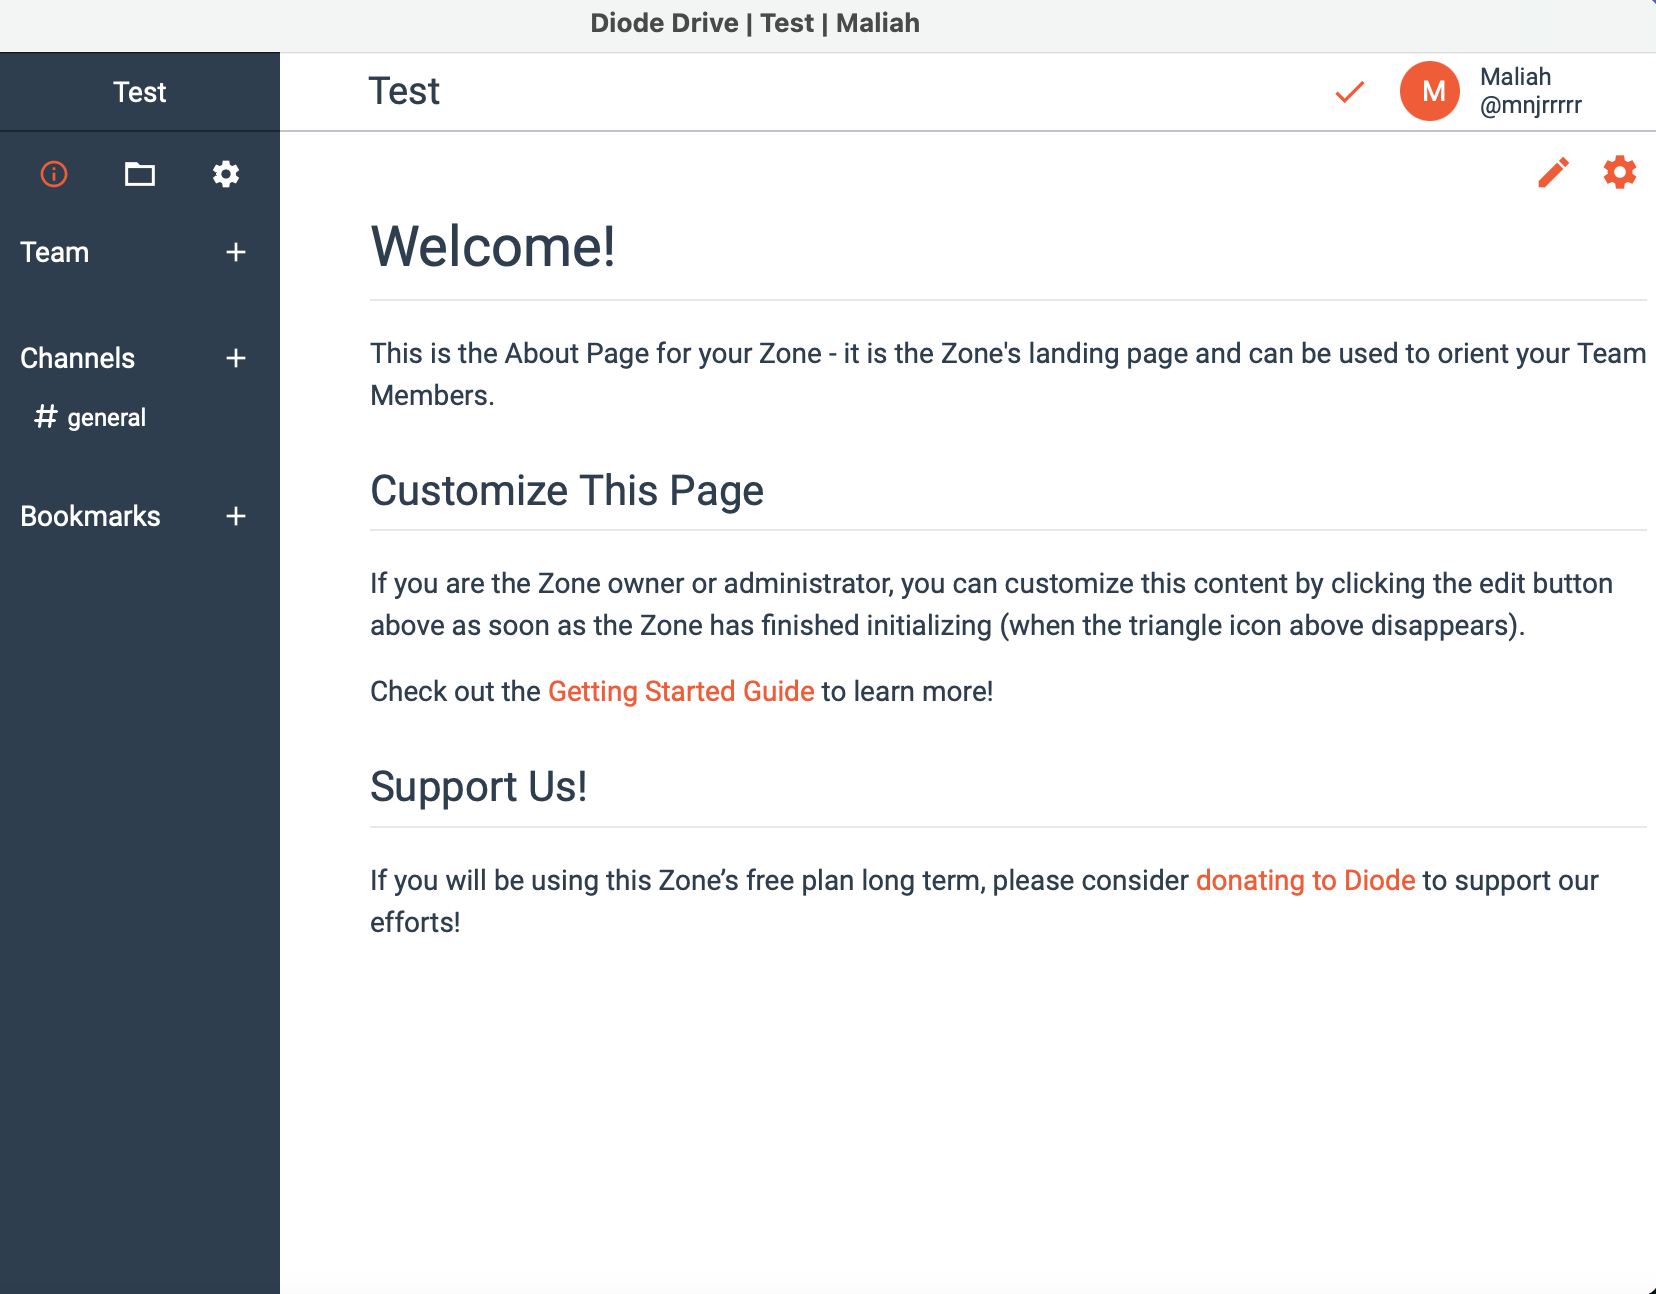
Go into the desired Zone in which a bookmark needs to be created. Notice the "Bookmark" label on the lefthand side underneath Team and Channels and click the "+" icon.
New Bookmark
A "New Bookmark" will appear on the screen.
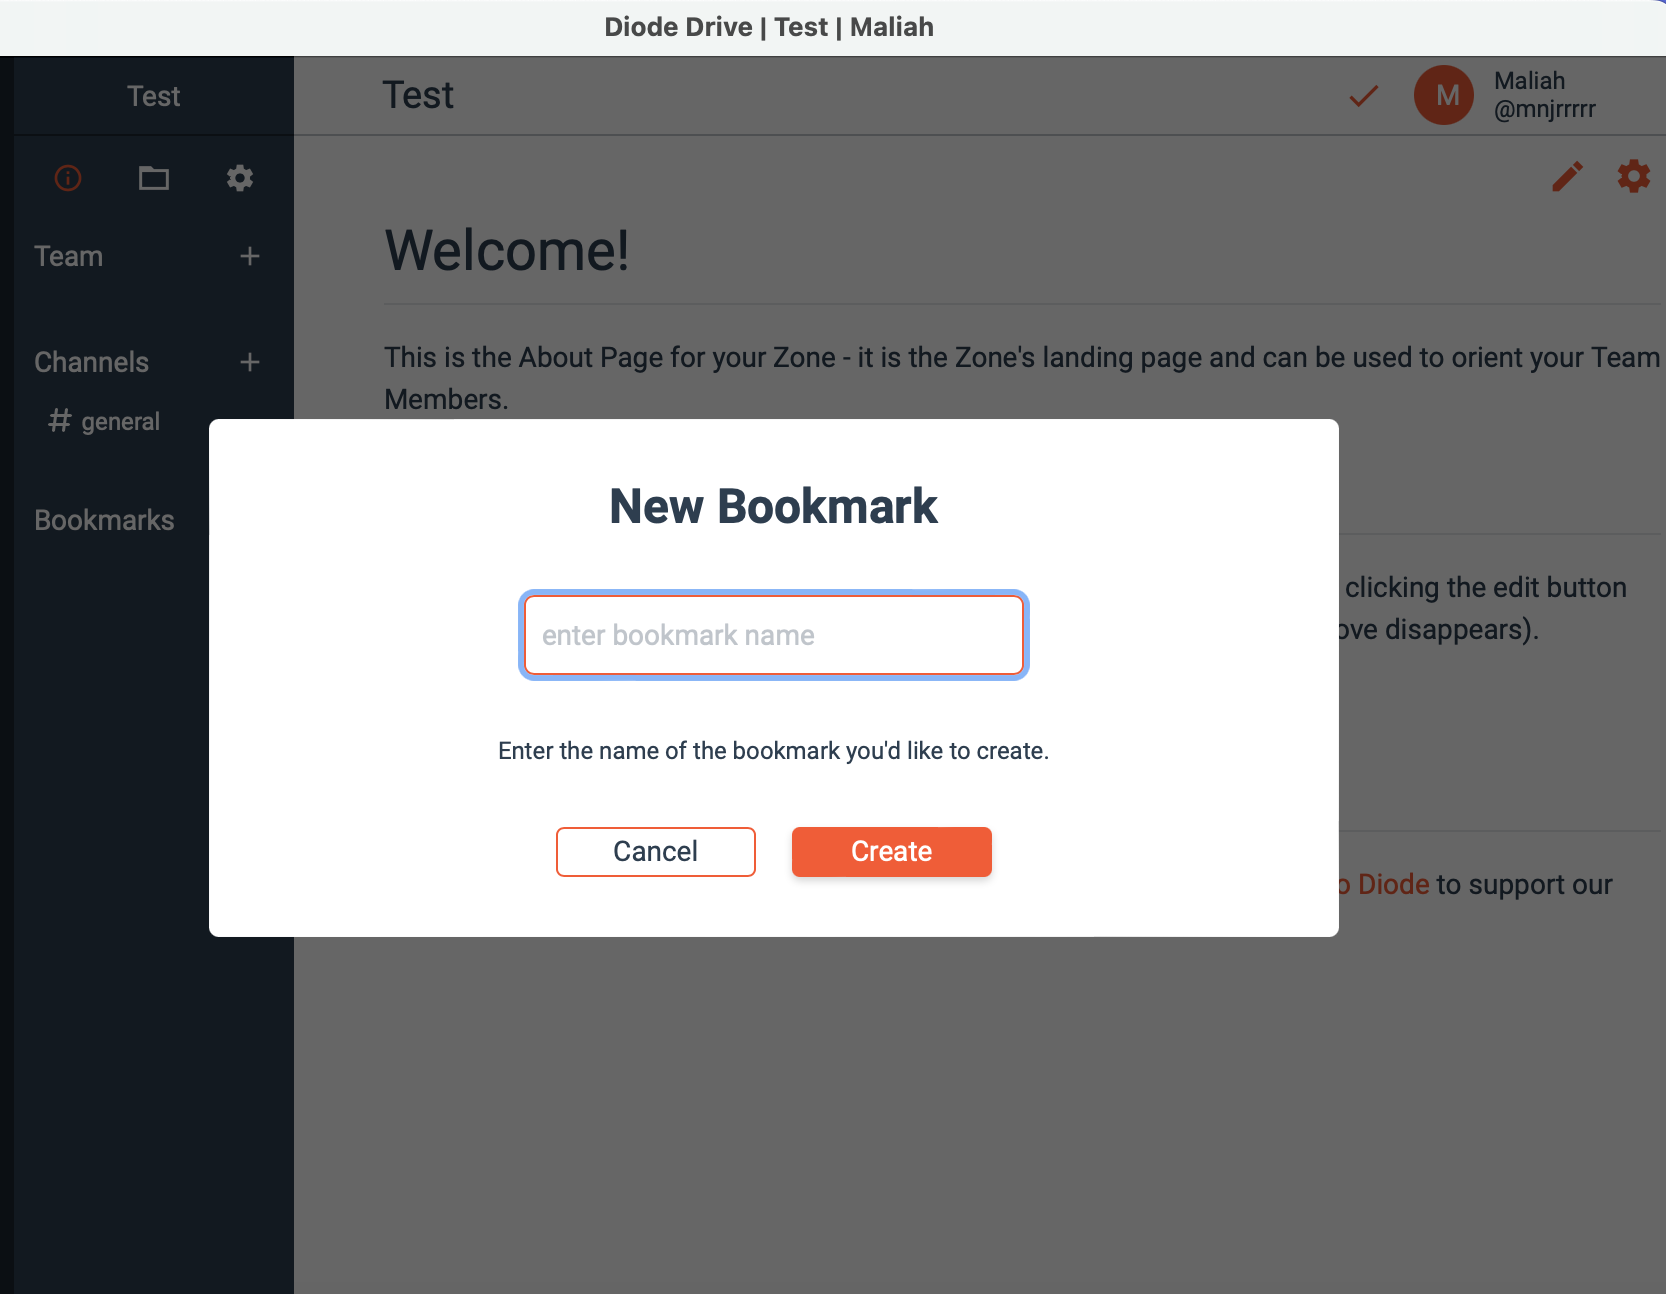
Name The Bookmark
Give the bookmark any general name for its content.

Configure Bookmark Details
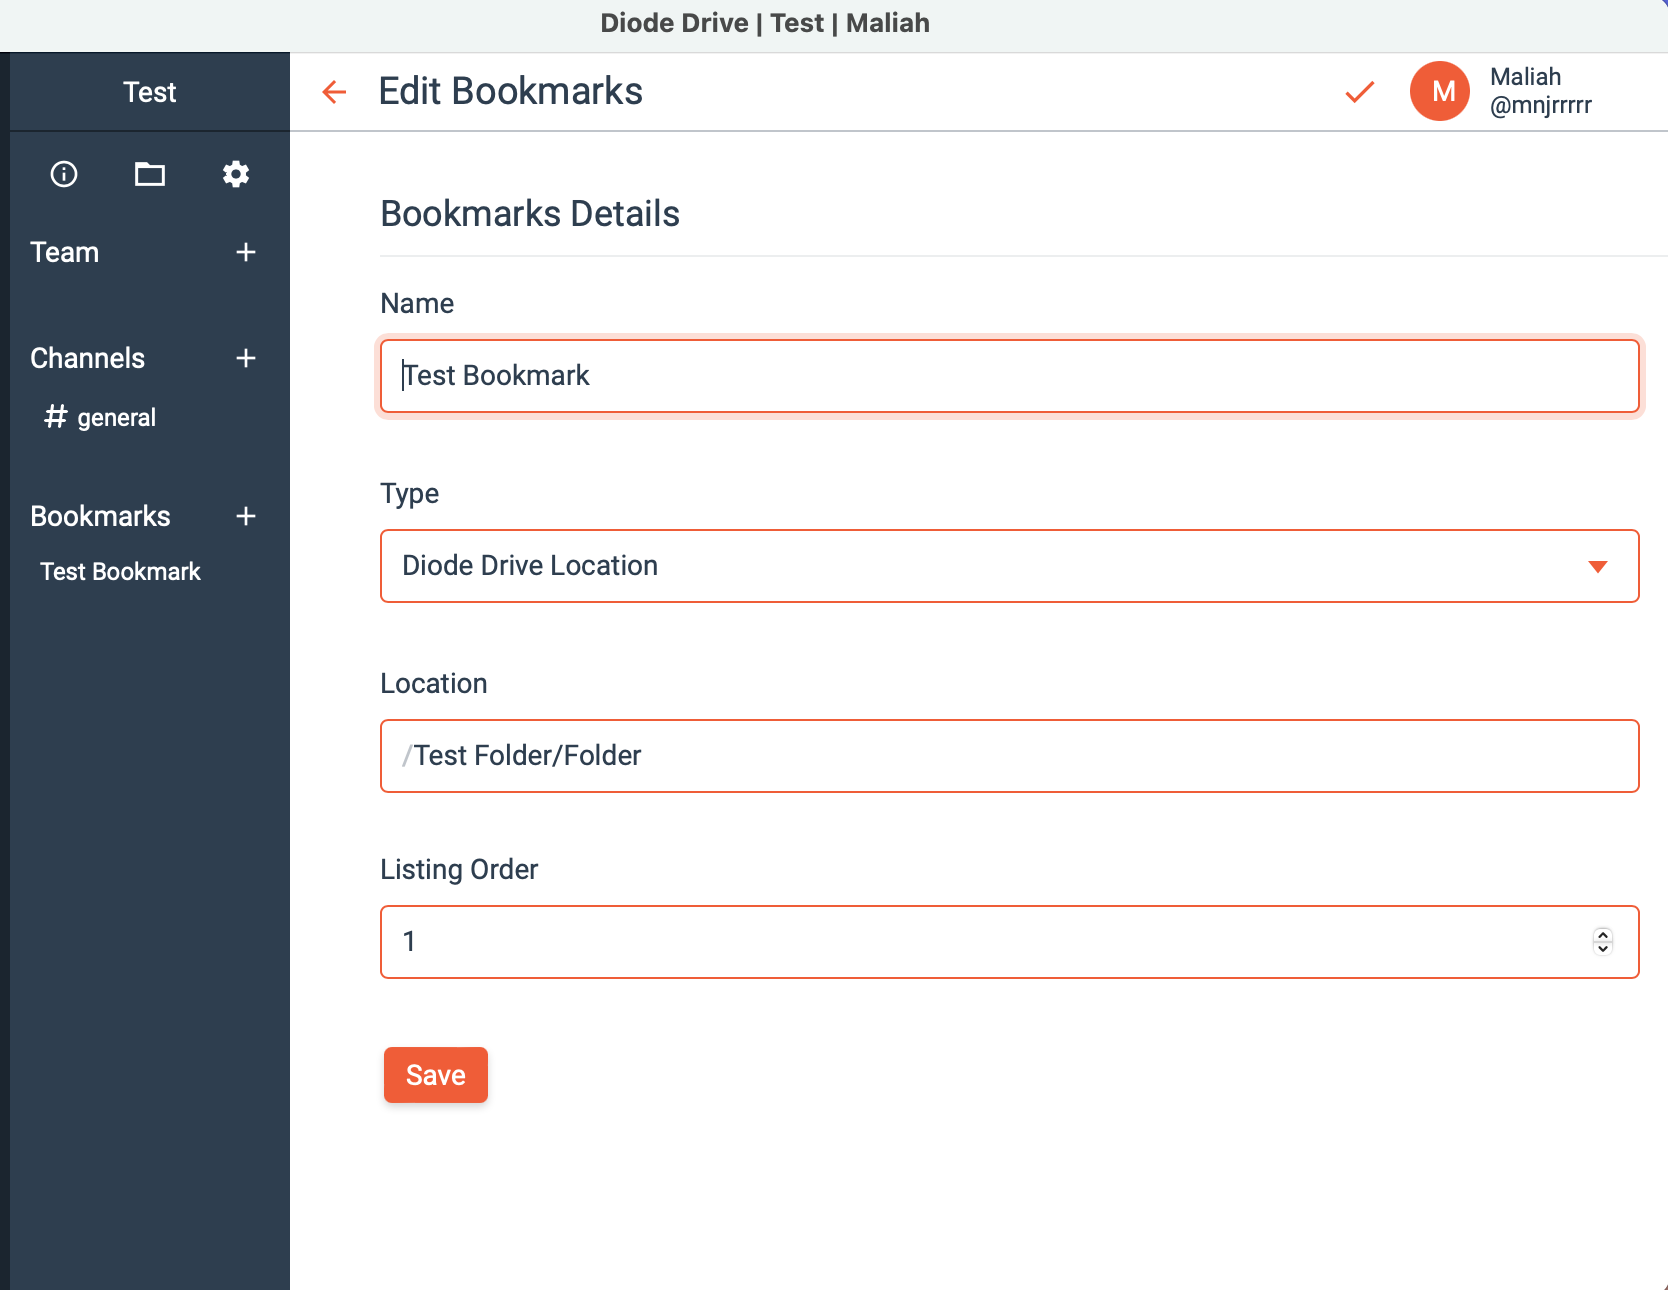
After the bookmark has been named, a screen will pop up asking for the Type, Location, and Listing Order of the bookmark.
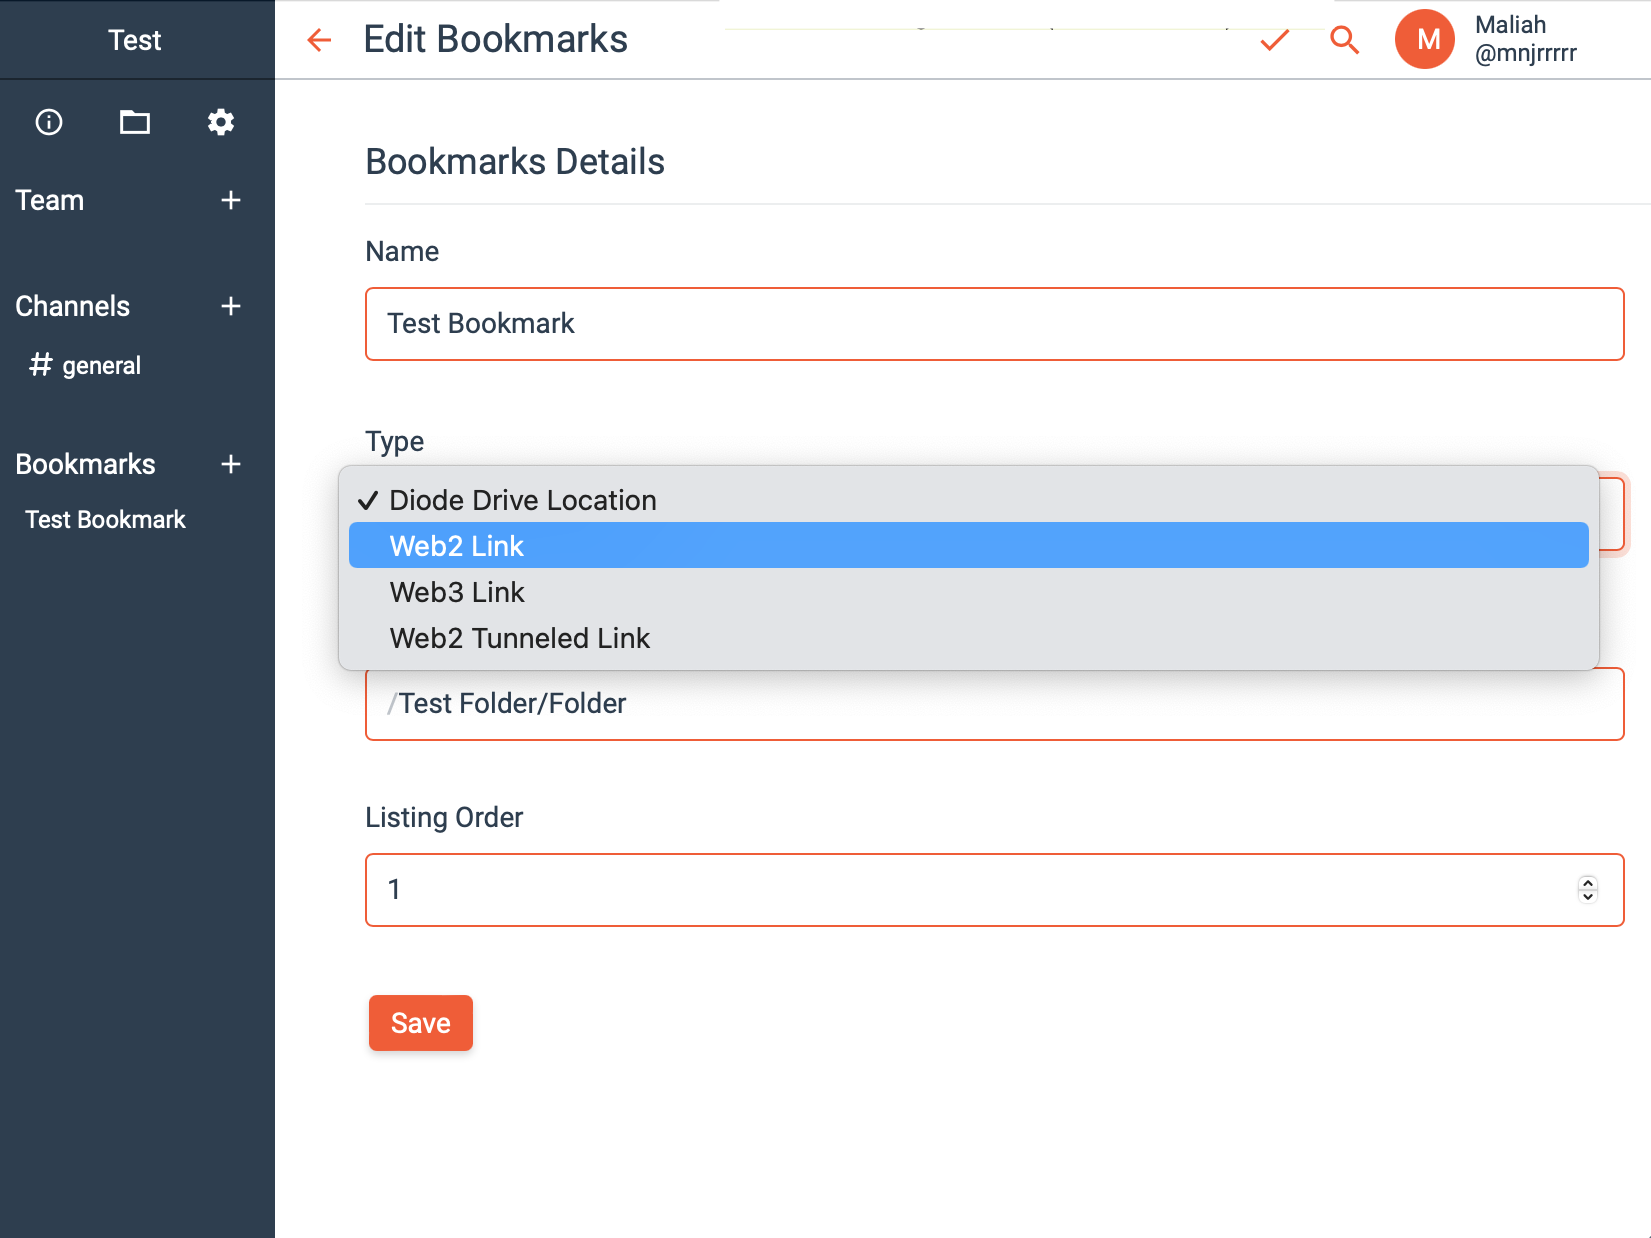
Types and Location / Path
If you would like to save a bookmark that can take you to either a file within Diode Drive or an outside source, simply change the "Type" dropdown menu to any of the ones listed and select the desired source. Each type may have additional settings, and will use a slightly different Location or Path syntax - so see the instructions for each type to understand those settings.
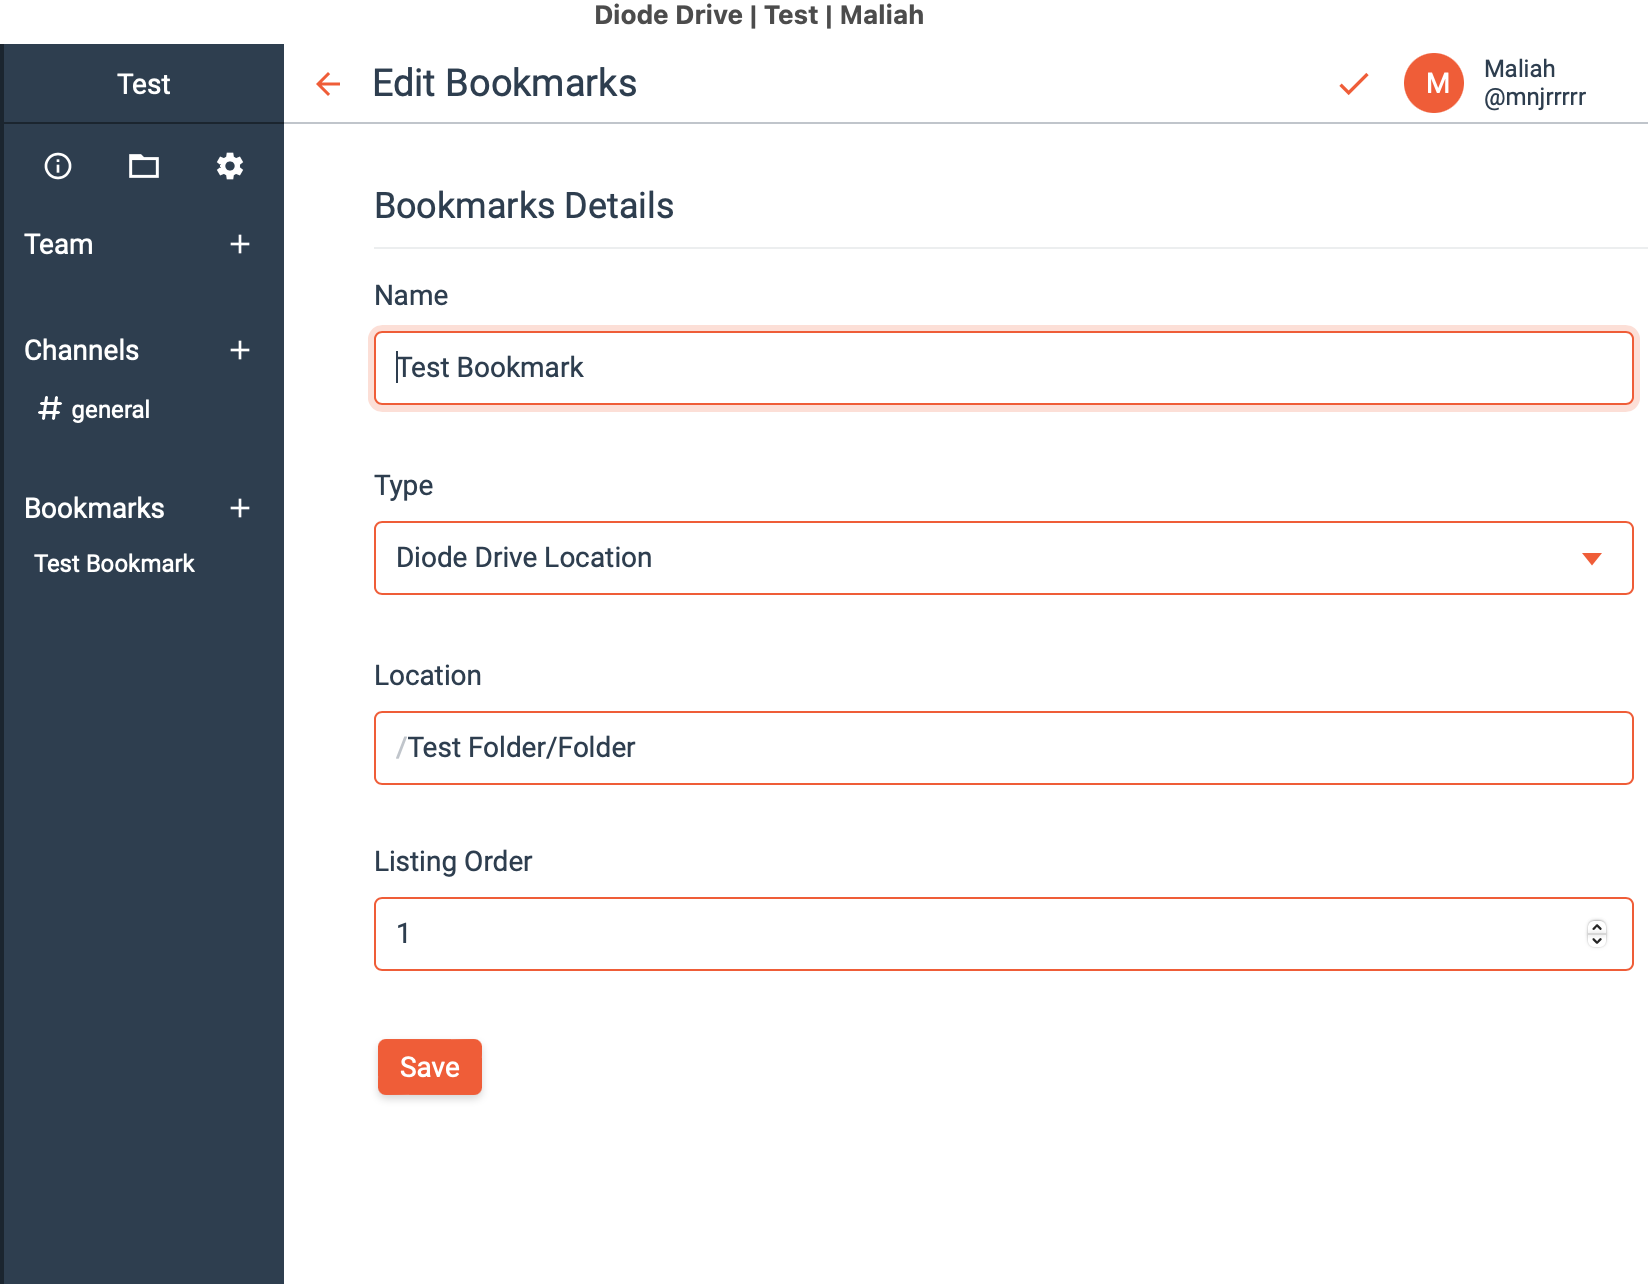
Type: Diode Drive Location
These bookmarks take the user to a Diode Drive location.
To make a link to a Diode Drive location, click the "Type" dropdown menu and select "Diode Drive Location."
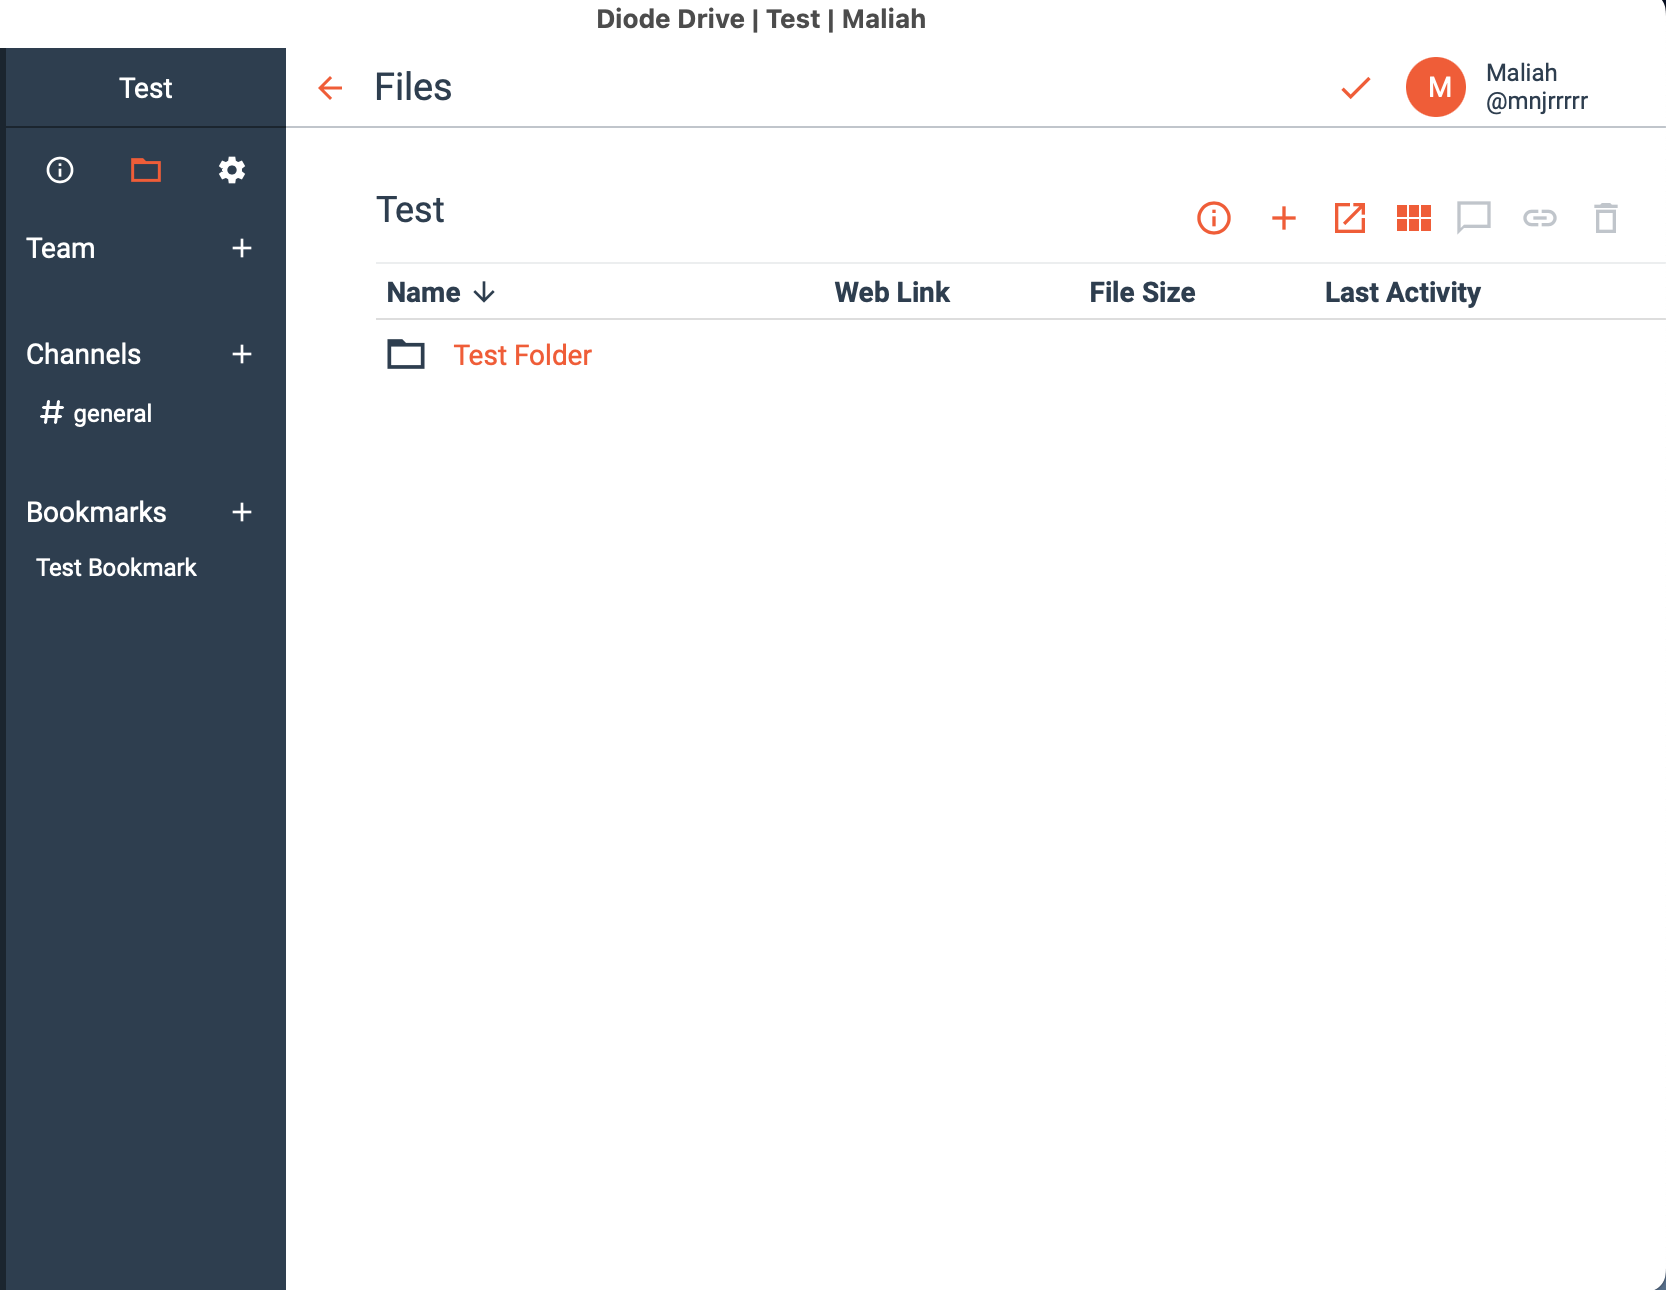
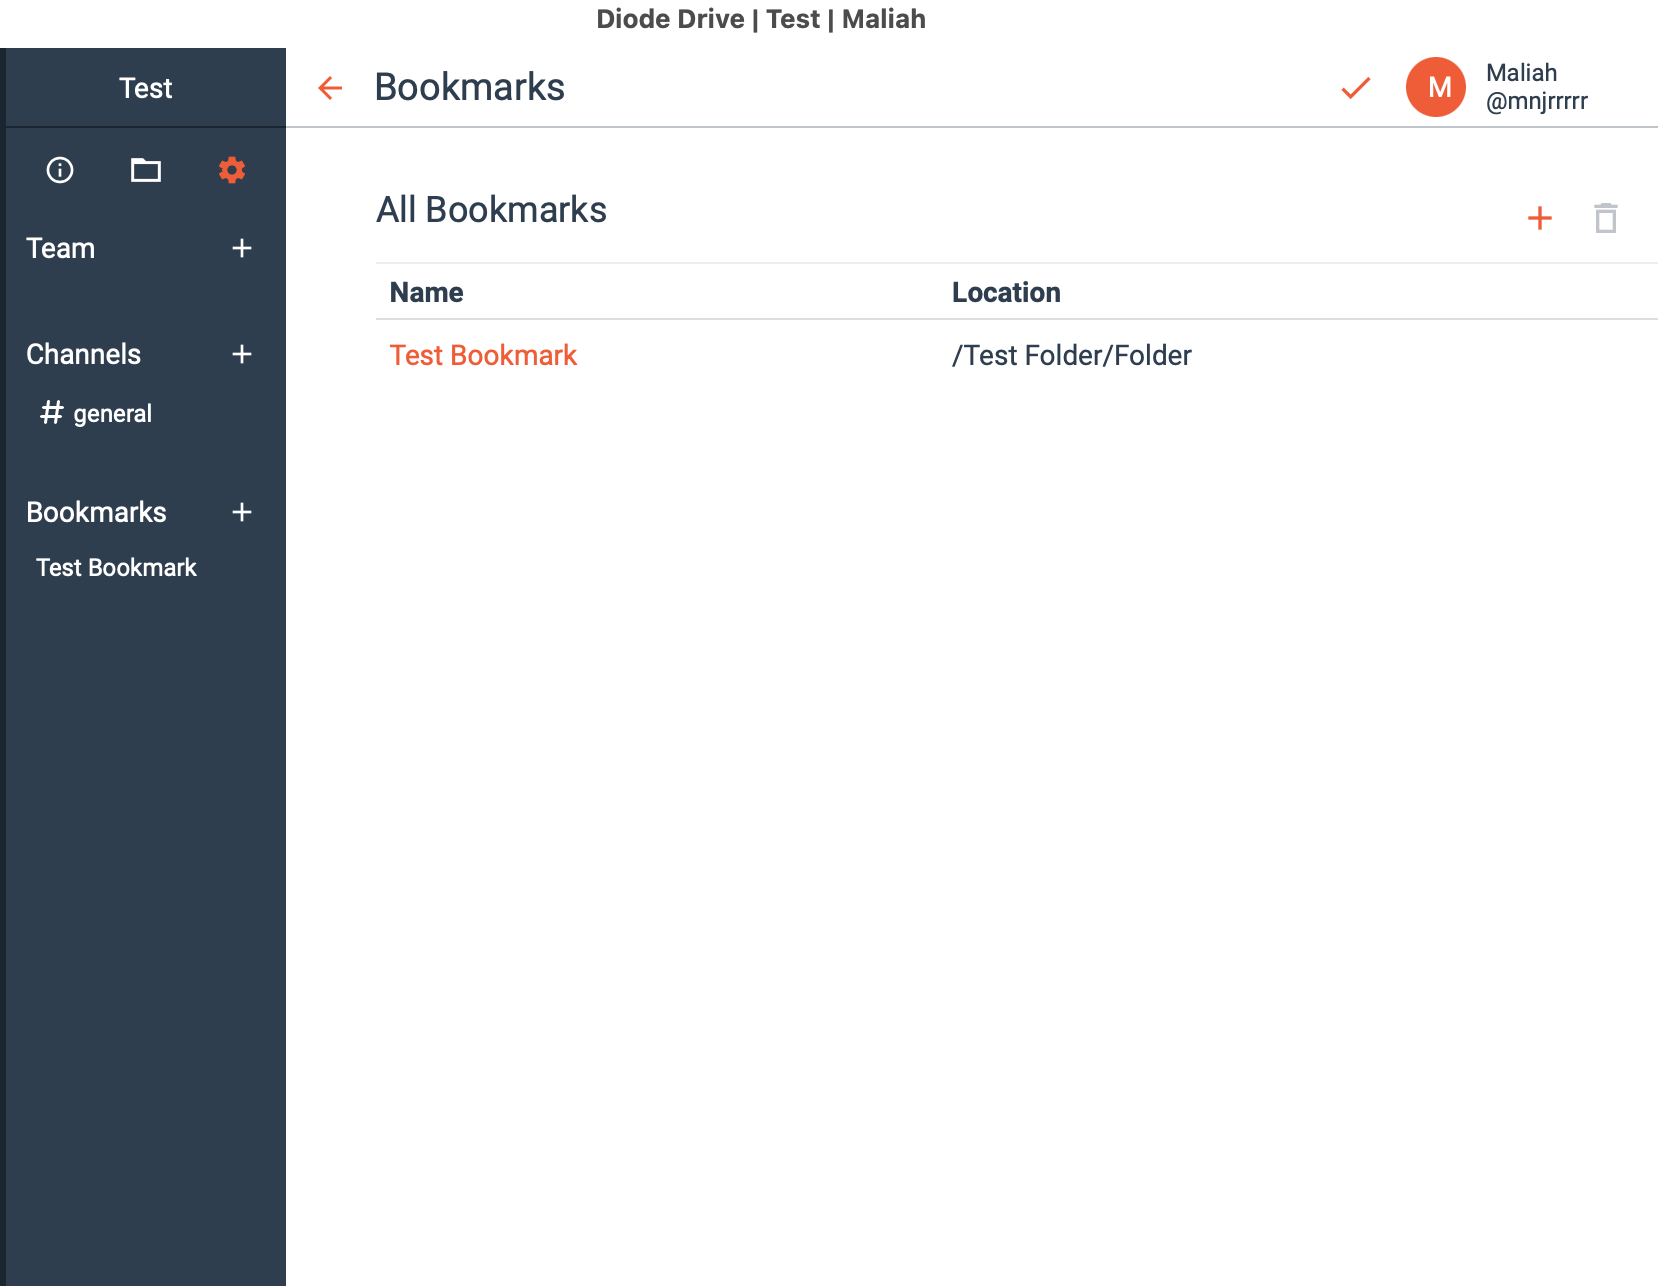
The "Location" is the path to the file or folder within the Zone. In this example, there is a folder named "Test Folder" at the base of the Zone, which then had a subfolder named "Folder" within it. So, to add a bookmark to "Folder", we typed "Test Folder/Folder".
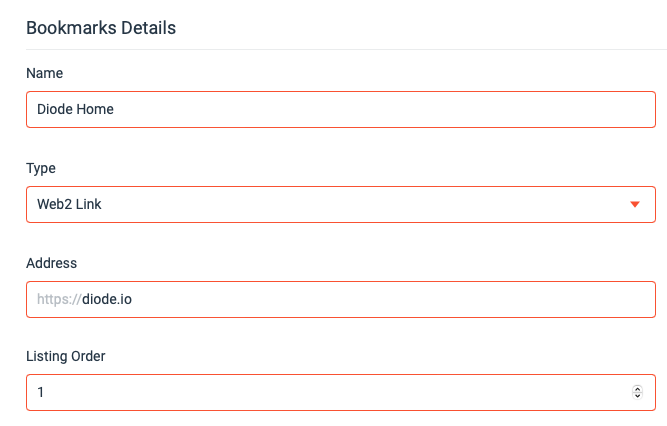
Type: Web2 Link
These bookmarks open the Address field (URL) in the system browser without any Diode tunneling.
To make a link that opens in the system browser on the public Internet, click the "Type" dropdown menu and select "Web2 Link."
The "Address" is the website address / URL to the website you want to open in the system browser. This would be exactly the same as they would type into a browser address bar. In this example, the Web2 Link bookmark is to Diode's home page "diode.io".
Type: Web3 Link
These bookmarks open the Address field (URL), in the browser you configure, with end-to-end encrypted Diode tunneling. This is often used to access secure self-hosted/private-cloud websites, private server dashboards, or operational technology equipment dashboards/configurator interfaces.
To make a link that opens to a website/dashboard that is not exposed to the public Internet, click the "Type" dropdown menu and select "Web3 Link."
The "Browser" currently has two options: "Brave" and "Internal". The "Internal" browser option will usually only work for simple dashboards, but is the most secure. The "Brave" option requires that you have the Brave browser installed on your system - the Bookmark will automatically launch a Brave window that is tunneled to the Web3 link via Diode. This is still secure, but relies on the user ensuring that the Brave installation itself is the canonical installation (not a fake).
The "Address" is the Diode address to the website/dashboard you want to open in the specified browser. This will always end in ".diode" and its contents can be simply the Diode client ID of the site. If the site has a BNS named assigned, this can also be the BNS name. For example, a client ID Address could be "0x70114a27F3d1b549012498c69A4120CA4ea11E21.diode", or a BNS-based Address could be "myweb3site.diode".

Type: Web2 Tunneled Link
These bookmarks open a Web2 website that is tunneled into a remote location so that the website is shown as if the user is sitting at the Exit Location. This allows users to access websites from a remote region and to protect their browsing information from being leaked.
To make a link that opens to a website from a remote region, click the "Type" dropdown menu and select "Web2 Tunneled Link."
As with the Web3 Link, the "Browser" setting currently has two options: "Brave" and "Internal". The "Internal" browser option will usually only work for simple websites, but is the most secure. The "Brave" option requires that you have the Brave browser installed on your system - the Bookmark will automatically launch a Brave window that is tunneled to the remote Exite Location via Diode.
The "Address" is the website address you want to open in the specified browser as if the user is sitting at the Exit Location.
The "Exit Location" is the specific region or location or server that you want the website to be loaded from. Diode provides a "US West" option by default, but you can add your own Exit Locations if desired.

Listing Order
The "Listing Order" is simply the order in which you want the bookmark to appear in your bookmark bar if you have multiple bookmarks listed.
Publish the Bookmark!
Click "Save" and your bookmark will appear on the lefthand side of your Zone under "Bookmarks." If you wish to create more, click the "+" icon and repeat the same process.
Editing Bookmarks
If you want to change the name, location, type, or listing order of the bookmark, go to the Bookmark listing page. You can either click the word "Bookmarks" in the Quick Access Bar, or access it from your Zone settings (the icon of the gear on the top lefthand side of the Zone, next to the information and folder icon).
Scroll down to Bookmarks and click it to go to the listing of Bookmarks.

Then, click the orange Bookmark name for whichever bookmark that needs to be edited.
The Name, Type, Location, and Listing Order can all be edited.
Click "Save" when the edits are complete.