Create a Simple Decentralized Webpage
 Updated
A quick and simple way to create a decentralized webpage is to use Diode Drive to publish a simple page to the Internet. Read below for how to do that!
- Install Diode Drive
In order to create a simple decentralized webpage, you first have to install Diode Drive.
Behind the scenes, Diode Drive creates an encrypted tunnel from your device into the Diode Network that allows you to publish a webpage into the Diode Network, and from there onto the Internet.
- Create a webpage folder
After you've installed Diode Drive, you'll have created at least one Zone. Using the Zone Selector sidebar, choose the Zone you want to host your webpage in, and go to the Files view. Once in the Files view, click the "+" icon to create a Folder and call the folder "webpage" (you can actually call it whatever you like).
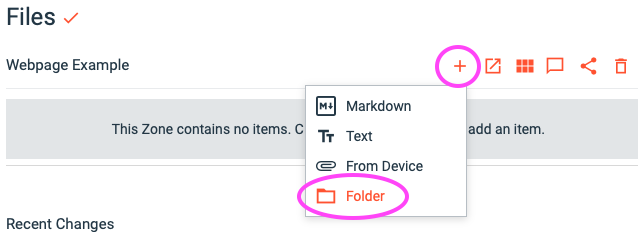
We make a webpage folder so that we can publish all files in that folder to the Internet.
- Publish the webpage folder
Click the checkbox on the "webpage" folder line and click the share button.

This immediately shares the folder and its contents and will show a message prompting you to copy or configure the link. Click where it says "Click here to copy link to clipboard".

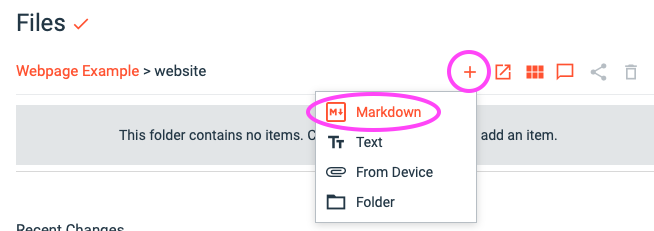
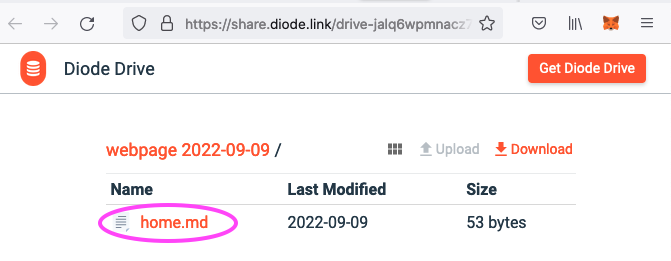
- Create a home file
Click the "webpage" folder to go into it, and again use the "+" button to create a Markdown file and call the file "home" (again, you can call it whatever you like).
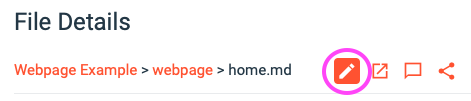
- Add some text to your webpage
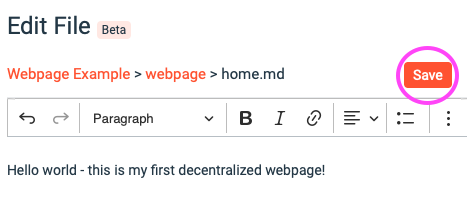
Click the "home.md" file, and then click the "edit" (pencil) button to edit the page.
Type some text and click Save.
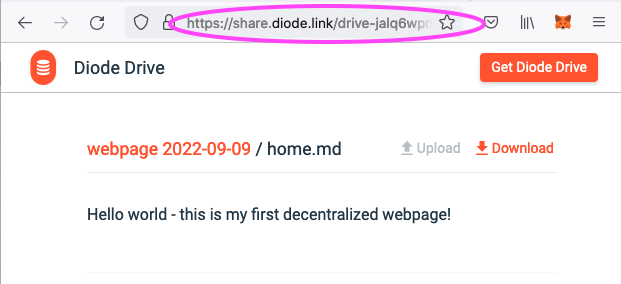
- View your webpage!
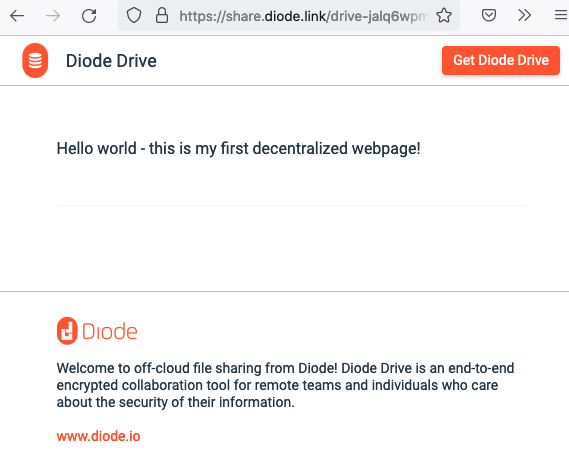
Paste the URL you copied in step 3 into a web browser and then click the "home.md" file it shows there.
This will show your webpage - you can copy the link in the browser to give it to anyone you like to view your webpage.
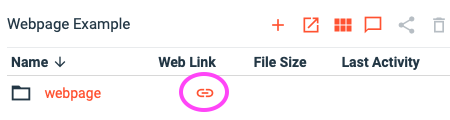
- Remove file information from the webpage
Since we want people to view home.md as a webpage, the "breadcrumbs" and "Download" and "File Details" information is not desirable. In order to remove those, go to the web link settings by clicking the web link icon to the right of your "webpage" folder in Diode Drive.
In the Link Details page, select Style and set to "Minimal styling"
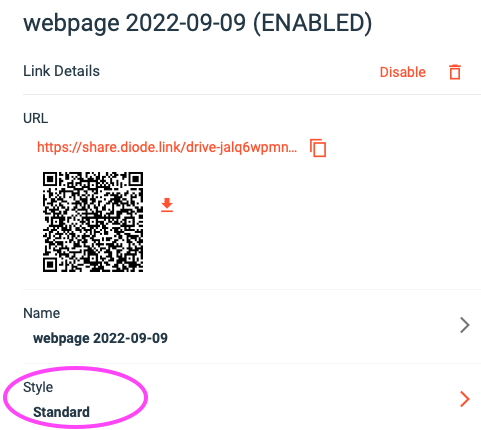
Your webpage will now be displayed without the other elements.
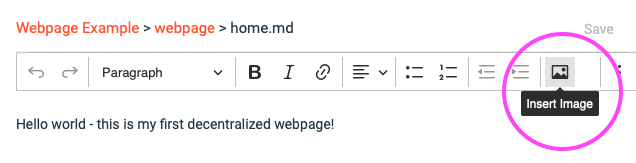
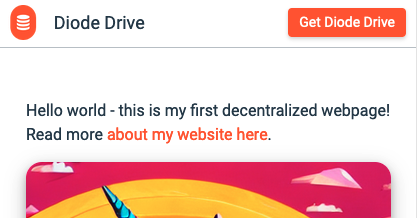
- Add images
A webpage is pretty boring without pictures! To add a picture, go back to Diode Drive and edit "home.md" as you did in Step 5. Once editing, select the Insert Image control in the edit ribbon and choose an image to add to your page and then click "Save".
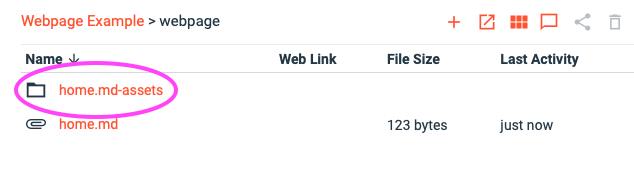
The image you added is automatically added to your webpage folder in a folder named "home.md-assets".
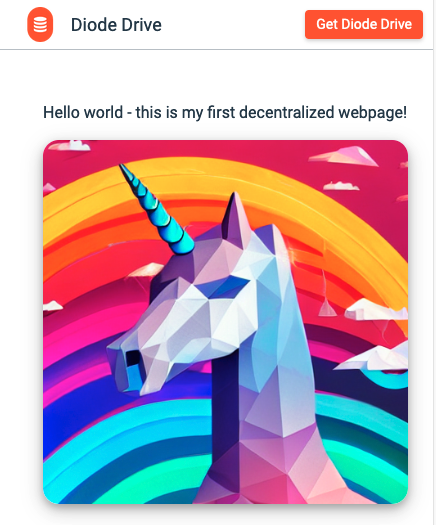
Now, both your home.md preview in Diode Drive as well as your webpage will show your new image:
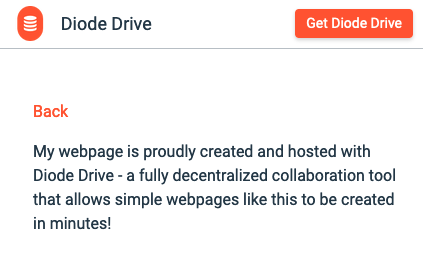
- Add other pages
You can quickly add other pages by using the "+" button while inside the "webpage" folder to add additional files - for example, "about.md".
After adding content to about.md (like Steps 5 and 8), create a link to it from your home page by editing the home.md file, adding some text that will link to your about page, and then clicking the "Link" icon, and typing "about.md" in the box provided.

This will then show up on your home page as a link that, when clicked, will show your about page.
- Next steps
You can also customize the header and footer of your webpage and provide links to upload folders and other content you've published - all part of a secure and fully decentralized collaboration environment made possible with Diode!
If you have questions or comments, please get in touch via the Diode Drive support channel (install Diode Drive and chat there) or our Telegram channel.